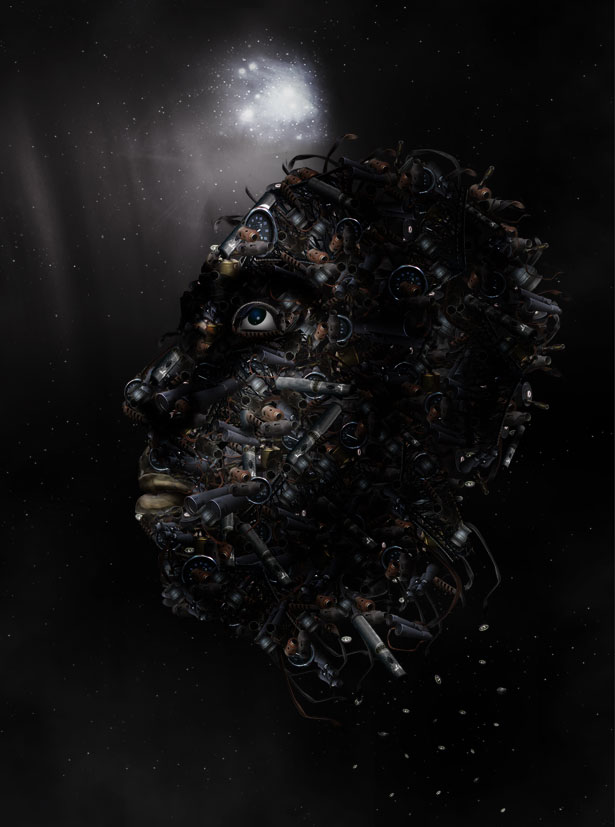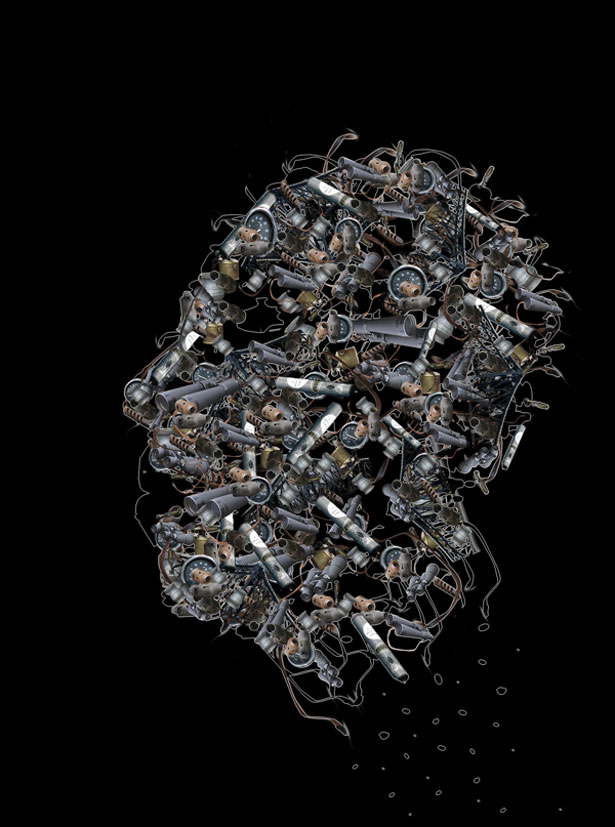
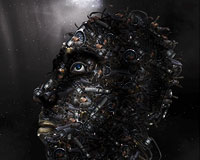
 In this tutorial I will walk you through a few steps that will show you how I managed to create this illustration.
I would like to give all the credit for this to Chris Haines. He is a very talented designer from Australia and one of the depthCore artists.
When I saw his illustration named Skin I was really curious to imagine how he achieved the result so I took my own style, used some free stock and the result is actually really interesting.
Now that I managed to finish the work I thought I will share this with you.
Final image preview
This is the image you will create:
Step 1
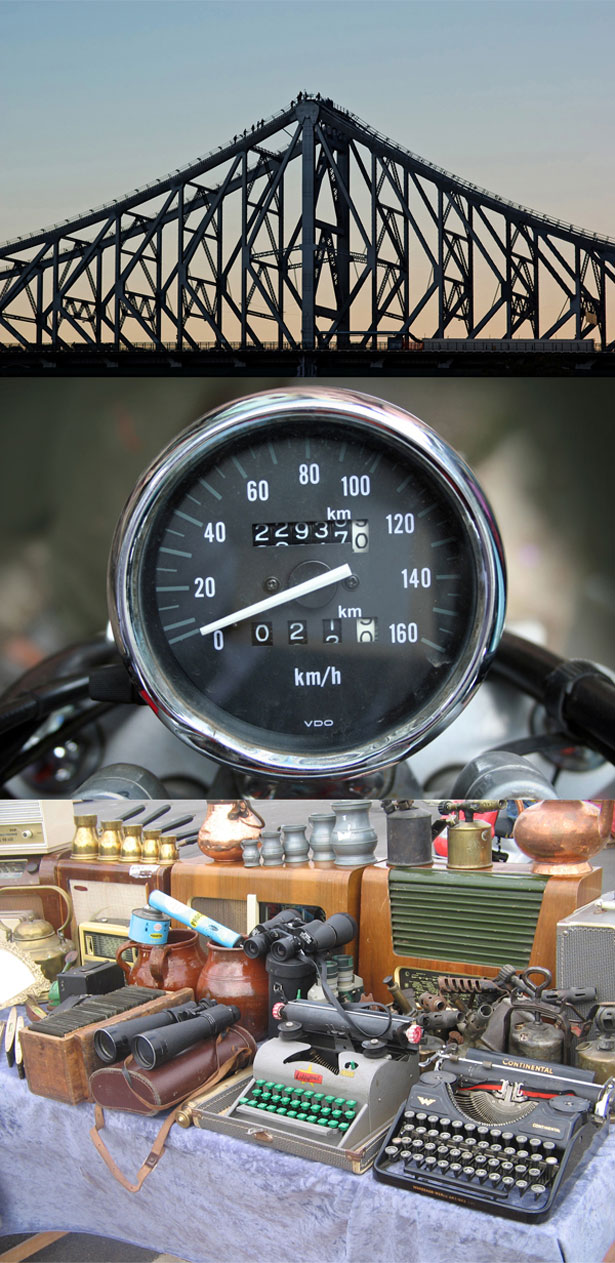
First of all I would like to introduce to you the stock images that I have used for this: bridge, speedometer and more scrap.
Step 2
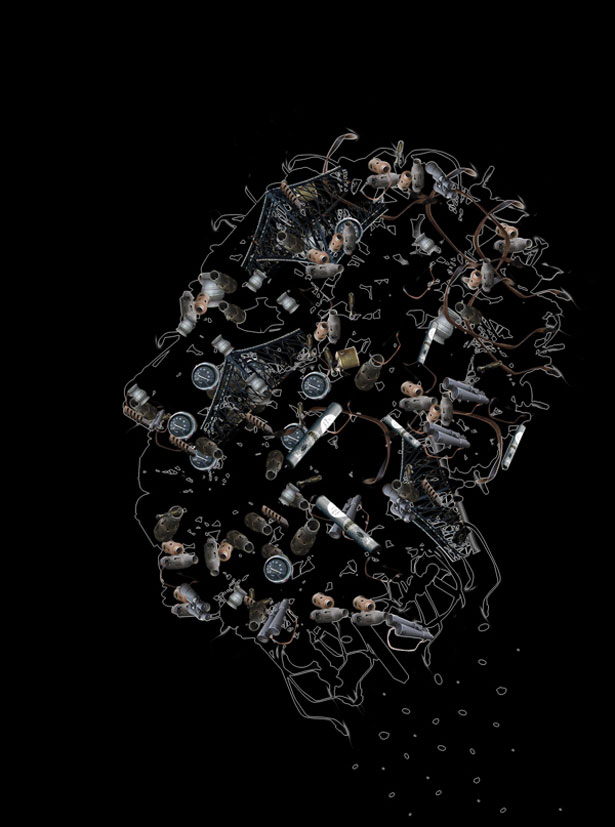
Next you need to cut out some of these objects. You will use these objects to create the head. The read spots are placed over the objects I have used to create the head.
Step 3
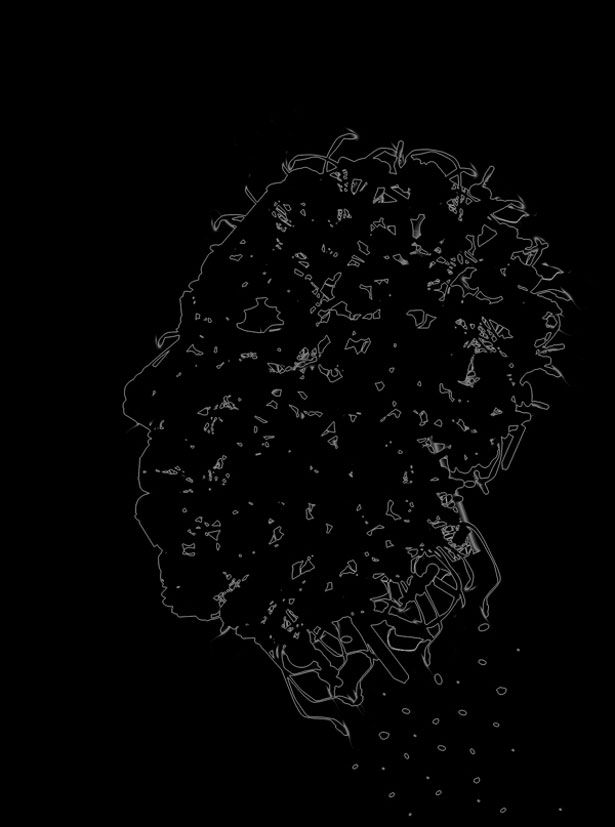
Now you need to place the objects on the document in a order. I have drawn a rough sketch of the head so I know where to place my objects.
Step 4
Now you need to start placing the objects you have cut one by one.
Step 5
Continue placing more objects. Don't just place them as you get them, resize, rotate, transform them as you like.
Step 6
As you can see I am using some elements on my advantage. I am using the belts to create the hair and some to make the illusion that the head has been broken. Also I am using the type machine keys to give it some graphic effect. Just like some pieces are falling from the head. I am also using some pieces to create the lips. I will also delete the sketch I made.
Step 7
As you can see the face is starting to get its shape. The pieces are coming together. You need to continue adding more elements till you fill almost all the empty spots.
Step 8
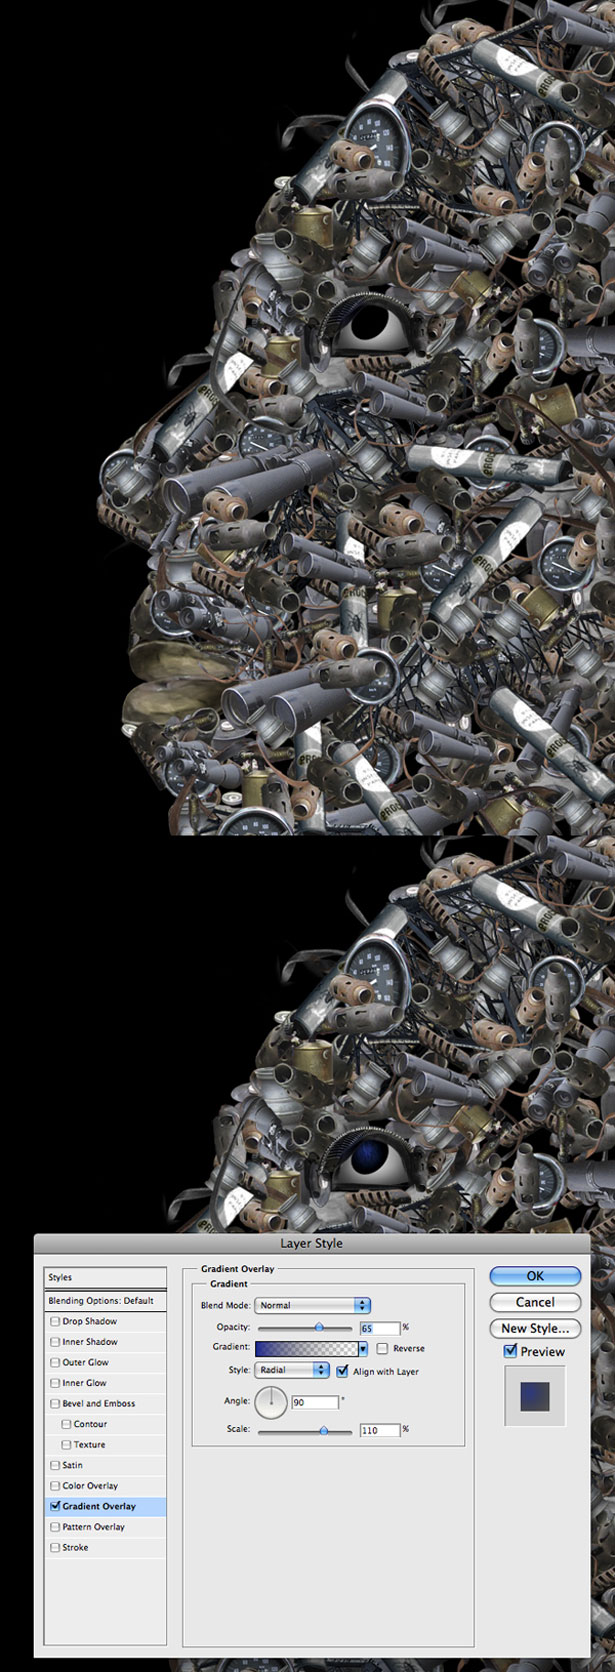
You are finally finished creating the shape of the head. Next you need to work on creating the eye. You will create the eye using some elements from the scraps you used so far and with the help of the brush tool. I will use some parts from the typewriter and belts.
Step 9
Next you need to create a new layer and draw some white on that layer as I did.
Step 10
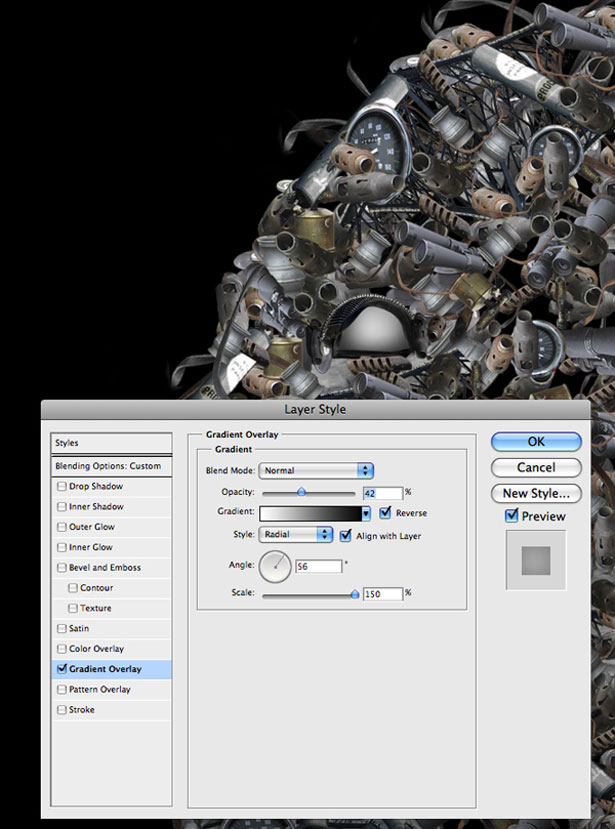
Next you need to use the settings I used for the Blending Options.
Step 11
Create a black circle in the center of the eye as I did. And also use my settings for the Blending Options.
Step 12
You have finished the whole building process. Now you need to start adding the lights and shadows. First of all you need to merge all the elements. Next you need to use the Burn Tool and start adding some shadow. You need to select a soft brush and also lower the Opacity to 15%. You want to build the effect gradually.
Step 13
Continue adding more shadow. Also you will need to use the Dodge Tool to add some light as well.
Conclusion
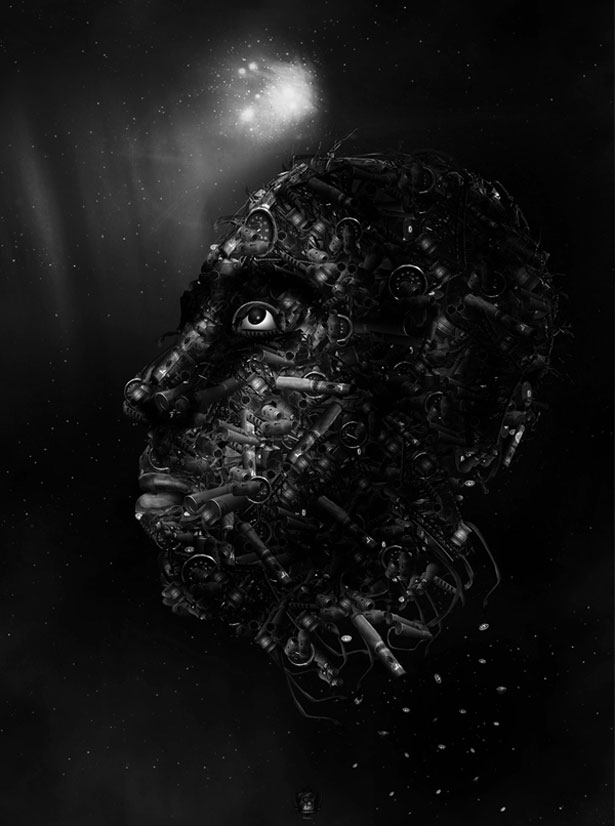
You are finished with the head. What you need to do next is to put a nice space background behind the head or maybe create one for yourself. After you make your background it is recommended that you play with the colors or maybe make the work black and white.
You can view the final color image below:
And here's a black and white version:
Written exclusively for WDD by Constantin Potorac
Did you enjoy the tutorial? Have you tried it? Please share your comments with us!

