 By setting images in type, you are able to express more than words or pictures can alone.
The effect packs a lot of information into a tight space. But it can get ugly if the text and imagery are at odds with each other.
Designers can steer clear of disaster by keeping their purpose in mind: expressing the idea clearly should trump the "wow" factor of the technique.
Setting images directly in text mixes the straightforward communication of words with the emotional effect of photos.
Words state, and photos express. But when images get lost or text becomes muddled, or both, we get conflict. Images and text can be harmonized seamlessly, but only if we follow some guidelines that balance the readability of both. Read on to find out how to effectively mix text and imagery.
Balancing Text and Image Readability
Think of letterforms as picture frames… albeit unusual ones. Setting an image in text requires that you remove chunks from the picture. To retain the readability of the image, you'll have to decide which parts of the image matter. It's best if the letterforms don't intrude too much on the picture.
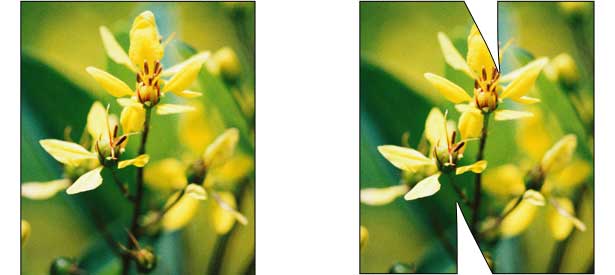
Above, two triangles cut into the photo from the top and bottom. That's good for the text, which is now a recognizable "N," but bad for the photo, because some detail has been removed from the focal point of the image (i.e. the flower).
To figure out how images and text can (and can't) mix, we begin with the letterforms. The obvious starting point is choosing the right type weight.

Myriad Pro Light is legible at the point size shown above. The edges of the letters are clear, and most of the colors contrast well against the background. But the photo is reduced to an abstract texture.

Changing the typeface to Myriad Pro Black reveals more of the photo. The text is harder to read because there's more detail to catch the eye, but the word "Spring" is legible.
Choosing a thick typeface isn't enough. We can improve image legibility another step by tracking the word, thus applying Gestalt principles—specifically "reification," a term from Gestalt psychology that describes how we make whole images and shapes with our minds even when our eyes are given only pieces or hints.
![]()
Above, the letters are kerned together to create a more coherent "stage" on which the photo can appear.
In detail 1, the letterforms are deliberately overlapped to show entire shapes within the photo—but not so much that they obscure the word.
In detail 2, three letters with vertical sides are spaced far enough apart that you can recognize them as letters, but are close enough to let the flower's petals "hop" across the white gaps. The black lines show implied lines that people connect subconsciously. At least one more Gestalt line of sight hops across letters in the word above. If you see it, leave a comment below.
Tight kerning tends to create solid blocks, which look interesting but can be cumbersome. The solution is to leave gaps between matching (or parallel) lines but to tighten areas that don't naturally fit together.

Here, letters with matching lines (such as the vertical sides of "r," "i," and "n") aren't as easy to read when pressed together. That open space is good for photos but bad for letters. Of course, attaching letters whose shapes match isn't always a bad idea, but they should be as legible as possible.
Mo’ Photos, Mo’ Problems
One photo and a short word is easy. Multiple photos across two lines requires more effort.
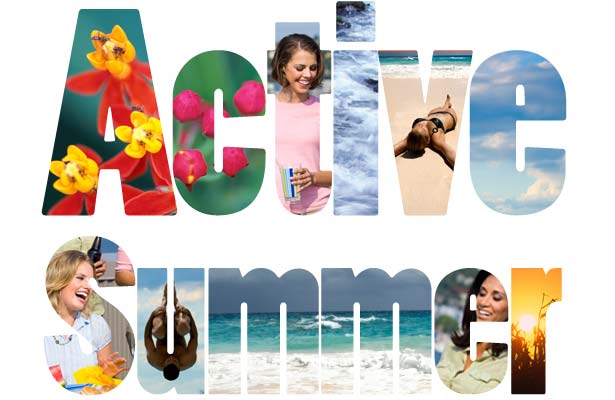
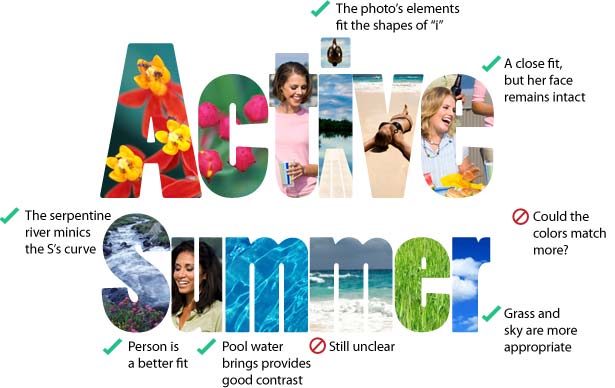
"Active summer" conjures a certain kind of imagery. The composition above has some merit. It shows a variety of photos: portraits, macros, landscapes. The text is set into an even block. And the typeface is thick enough to show most of the imagery. But there are problems.
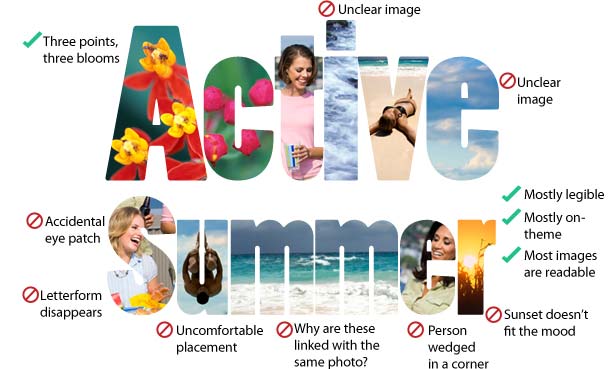
While a few things work well, the composition is riddled with problems. Specifics are labeled in the diagram above, but most have the same cause: the letters and photos interfere with each other. We can resolve the issues by making slight changes.
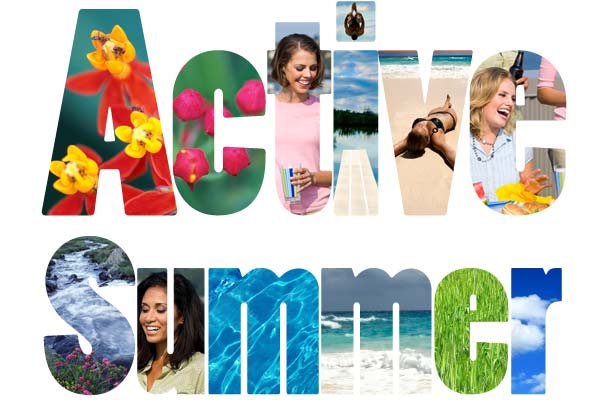
Our major changes here include:
- The image of the person in "S" is moved to the "e" in "active."
- New images are set in the "m," "e" and "r" in "summer."
- The image of the person in the "e" in "summer" is moved to the "u."
- The river image is moved from the "i" to the "S" in summer and is shrunk to reveal its source.
- The diving board is moved to the "i," and the diver is fit into the dot above.
It's better, but not perfect. The second "m" is still lost in the background. Also, adding photos with vibrant colors widens the color palette, which can be a problem. Let's try again.
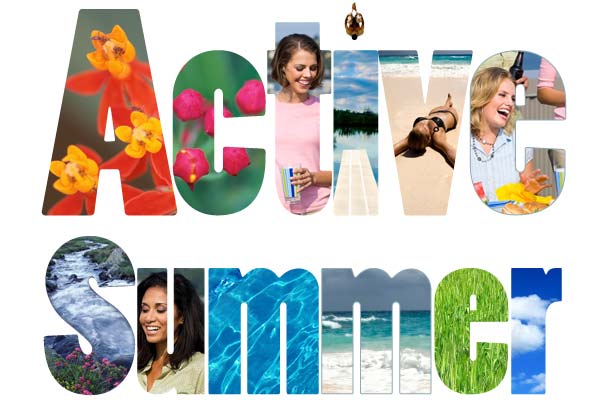
We can give thin borders to the "e" in "active" and the second "m" in "summer." The borders here are deliberately kept faint (45% opacity) to avoid drawing attention to themselves. We can also give the "S" in "summer" a border, but only where necessary (on the whitewater). Borders are necessary only where light-colored elements meet the white background.
The "r" in "summer" features white clouds that blend into the background. But the designer decided that the "r" shape was still legible, so a border was unnecessary.
Sometimes solutions appear when you are looking for problems. During our third round of changes above, for example, the designer isolated the cannonball diver from the background, which creates a more direct interaction between the image and text.
The final touch is to blend the colors. This unifies each word.
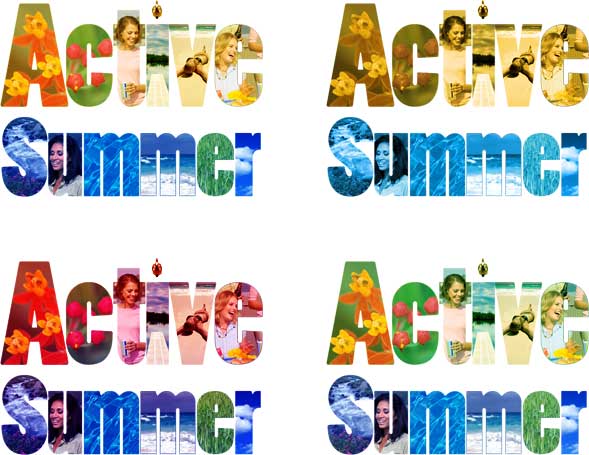
From slight shifts in hue to outright monotones, each word above receives varying degrees of tint. Despite the variety of subjects, scales and angles, similar colors helps each word stand on its own. Is this necessary? It depends on one's goals.
If tying the words together is more important than having realistic color, then the technique above could work. But tinting is a solution that should be applied only if there's a problem—that is, only if the intended meaning is getting lost.
Reduce, Reuse and Recycle Photos
One last problem with this composition is the sheer number of images used. Each letter seems to contain a distinct photo; if purchased as stock art, 12 photos could run up a big tab.
In fact, only seven photos were used in this composition. Two of the seven were used only once. One was used three times. Take a look:
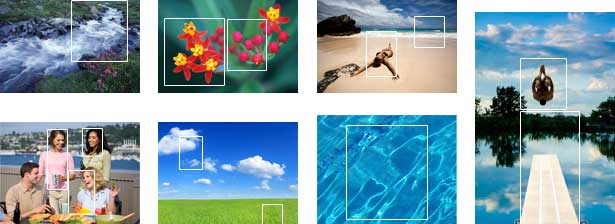
Setting photos into letterforms always requires cropping, so busy images—like the photo of the four people—can be cut in different ways and reused many times.
Changing Text to Fit Imagery
The two words we just dealt with, "Active Summer," are set in the same typeface but in different point sizes to keep their edges consistent. When using one letter per image, the design decision is arbitrary. When dealing with a single image, however, the shape of the text is critical; keeping the overall text shape as close to the image's proportions as possible is best. For example:
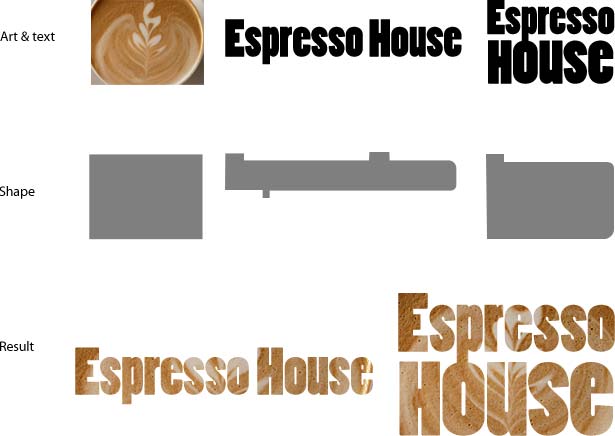
"Espresso House" is a long phrase, poorly suited to a 4x3 image. The solution is to adapt the text to fit the photo:
- The words are stacked to create a block.
- The word "house" is enlarged so that its left and right edges match those of "espresso."
- The "H" in "house" is uppercase, but shrunk to match the height of "ouse." As little space as possible is left between the two words.
- Though not always desirable, here the descender in "espresso" is allowed to meet the "o" in "house."
Legibility is important but to some degree subjective. Certain techniques favor the image, and others favor the text. This interplay is left to the designer, who understands the goals of the task.
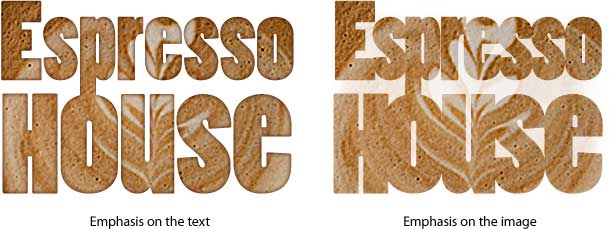
We can emphasize the text by increasing contrast around the edges of the letters (left). To emphasize the image, we show the faded image in the white space between the letters (right). "Ghosting" muddles the text but shows the image as a whole.
How to Set Images in Text with Photoshop
There are many ways to overlay images onto text, but these examples were created with a recipe developed by trial and error.

First, set the text in a Photoshop document. This composition is 615 pixels wide because that fits Webdesigner Depot's specs. When creating your own, fit the size to your project.
To see the edges of the letters clearly, start with black text on a white background. When you're finished, set the text layer's opacity to 20%.
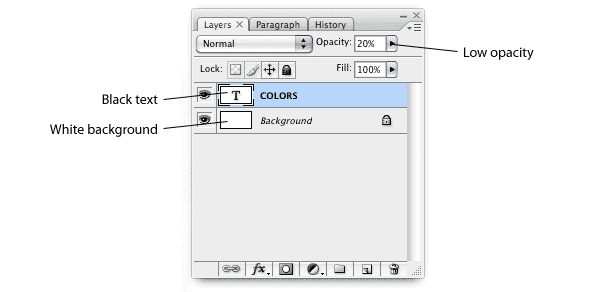
Above, the Photoshop layers palette in the first step.
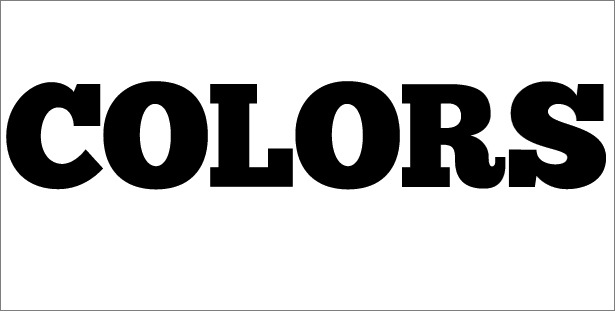
Second, flatten the word into the background to create gray letters on solid white. Then retype the letters, one per layer, using the background as a guide.
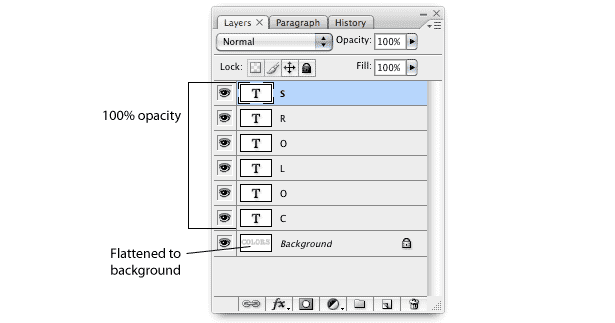
Above, the Photoshop layers palette in the second step.
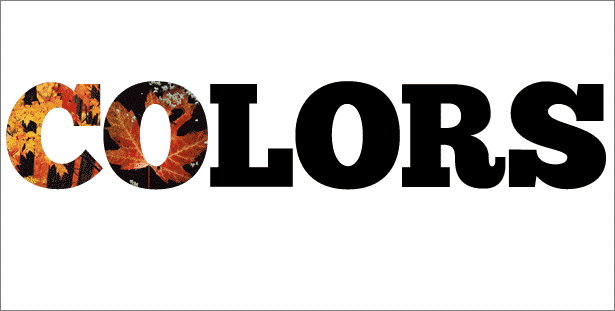
Third, add photos or parts of photos to the composition as separate layers. "Clipping" the layers (Layer → Create Clipping Mask) lets the top layer (in this case, each photo) appear only where the underlying layer (each letter) appears.
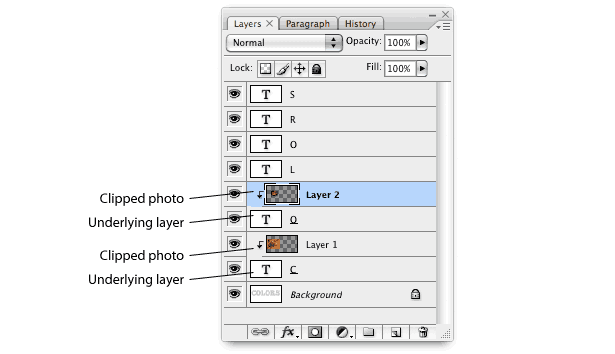
Above, the Photoshop layers palette as we add photos.
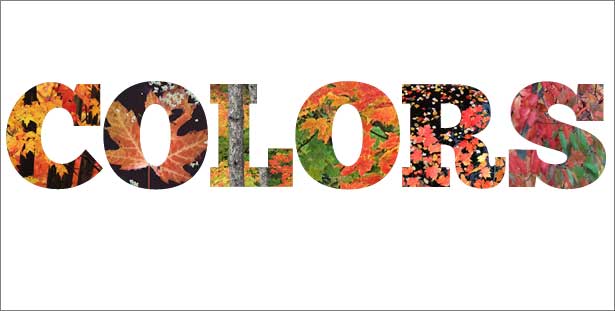
Repeat as needed.
Adapting the Idea
Any photo, illustration or texture can work with text in this way. The key is to strike the right balance of clarity between text and imagery.
Written exclusively for Webdesigner Depot by Ben Gremillion. Ben is a freelance web designer who solves communication problems with better design.
How do you manage the collision of type and imagery? Please share your thoughts below...


