 One of the most commonly used features of Adobe Photoshop is Layer Blending Modes. This allows you to blend layers, or groups, together to create interesting effects.
Although there are 29 blending modes available we will be focusing on 8 of these modes.
Having a knowledge of the varying blending modes will enable you to create better images and allow you to add more effects.
The following 3 photographs will be used in the examples throughout so you can always make reference to the base images.
Each photograph has varying characteristics so each blend mode will have a slightly different impact on each photograph.
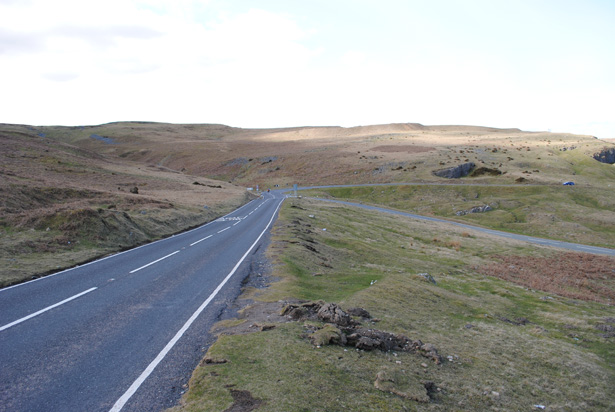
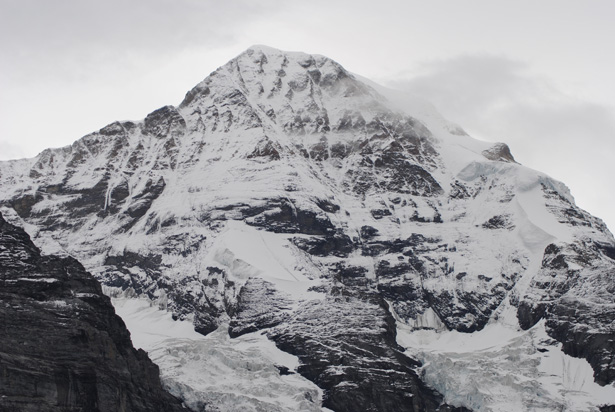
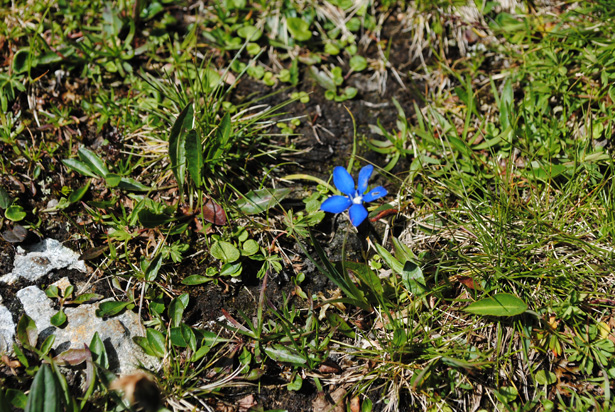 To observe the differences between blend modes, each of the example images is blended with the same color, a red with a Hex value of #d04747.
It’s always important to understand 2 key terms: blending color and base color, and set up Photoshop to understand each mode. The base color is the color of the images on the bottom layer, in our case the photographs, whereas the blending color is the color of the layer you are going to blend with, in our case a solid red (#d04747) layer which is placed on top of the base layer. The blending color layer is the layer that we will be applying the blending mode to as it sits above the photographs.
It’s important to note that in this guide we are looking at blending a block color with an image rather than blending 2 images together. Also, for simplicity’s sake, the opacity of both layers is set to 100%.
The descriptions for each blending mode are simplified and adapted from the Adobe list and advanced users can find detailed descriptions, and the many more layer blending modes that are available here.
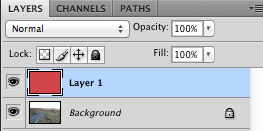
This is how the Photoshop layers dialogue is set up for this guide:
Normal
This is the default layer blending mode. As you can see it simply turns the canvas the color of the top layer which, in our case, is the red color.
Overlay
Perhaps one of, if not the most, commonly used blending modes is overlay. In this mode the blending color’s pixels are placed over the base layer’s pixels whilst maintaining the lightness and darkness of the base image. This can be seen in our examples below where the shadow of the photographs is maintained yet the overall color changes.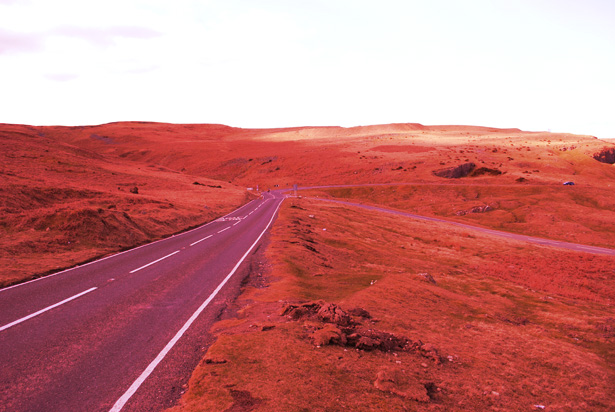
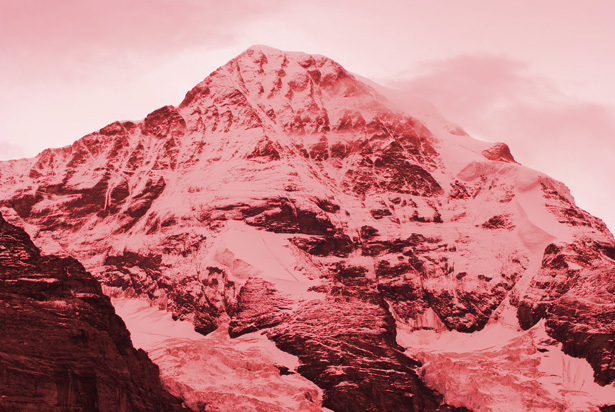
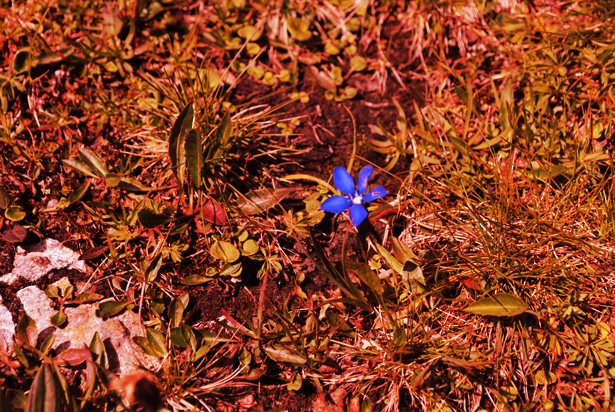 The Overlay mode, as seen above, can easily form the basis of creating a vintage image by overlaying different colors onto the image.
Darken
This mode does exactly what it implies: it darkens the base color. This mode uses the darkest color between the blend or base color in each channel, replacing the lighter pixels in either.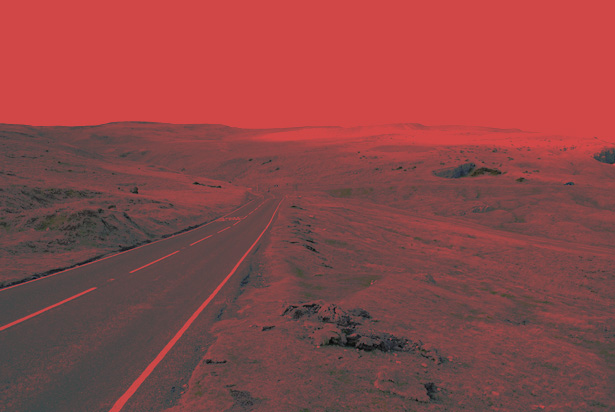
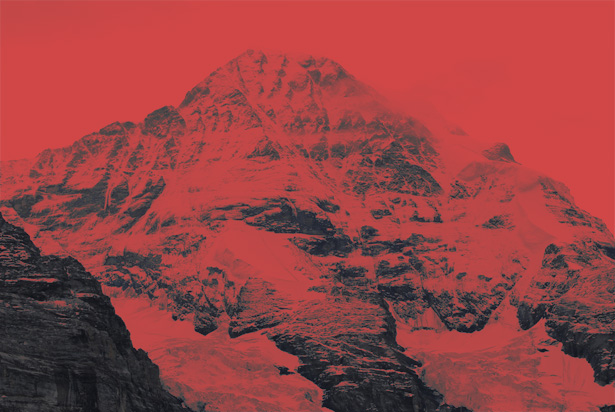
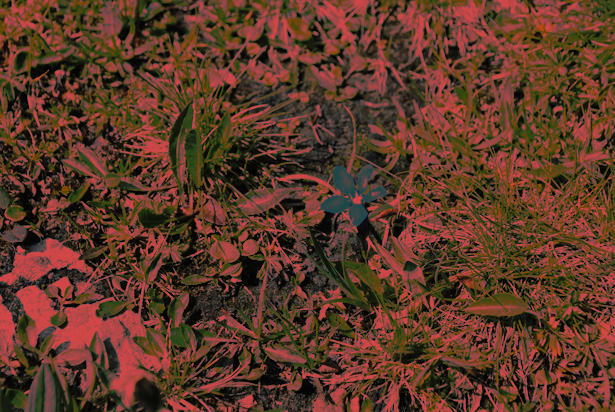 As can be seen many of the colors originally present in the photographs are no longer visible in the resulting image, this is especially evident for the first resulting image.
Color Burn
Using Color Burn creates some interesting effects as can be seen below. Photoshop looks at the color channel information and darkens the base color by increasing the contrast between the base and blend colors.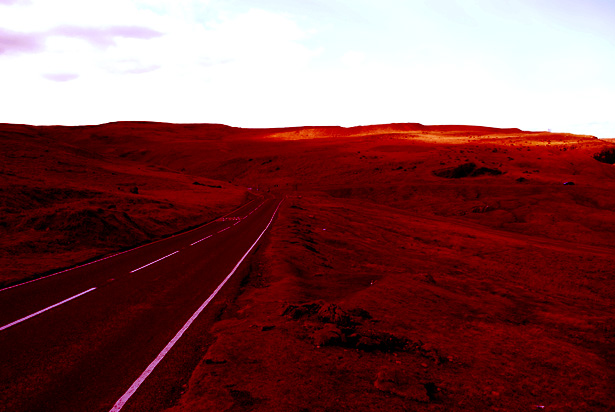
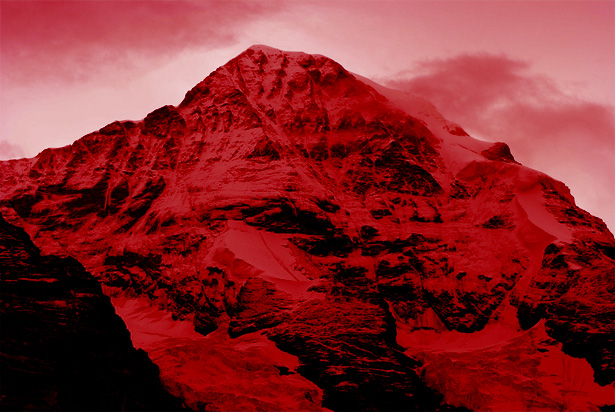
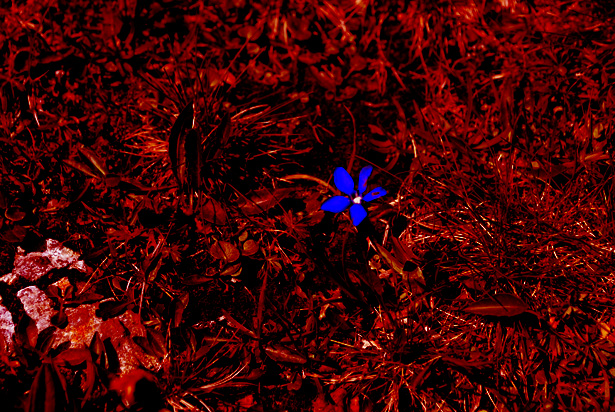 Interestingly, the brightly colored flower in the third base image doesn't change much; this is because of its contrast from the surrounding colors in the original photograph. The change in contrast in the first photograph is also very apparent.
Multiply
Another very popular blending mode is Multiply; this simply multiplies the base color by the blend color using the color information in each channel, which results in a darker color.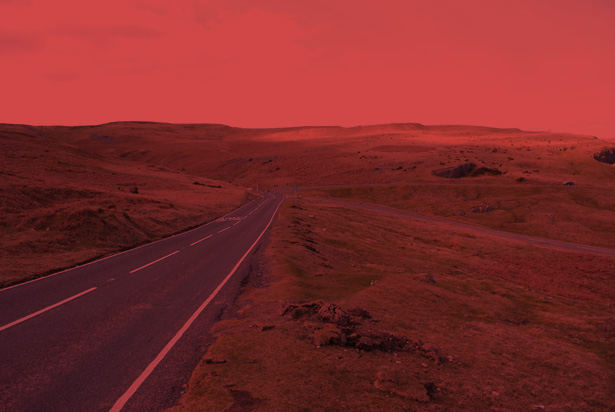

Difference
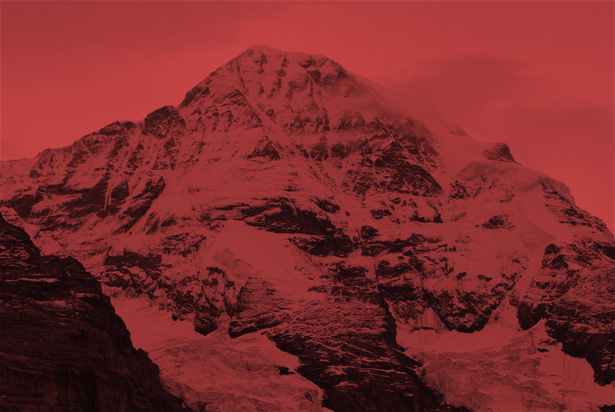
Again, difference does exactly what it suggests. The color information in each channel is analyzed and then the blend color is subtracted from the base color or vice versa depending on the which has the greater brightness value. A less advanced version of this mode is Subtract,which simply subtracts the blend color from the base color.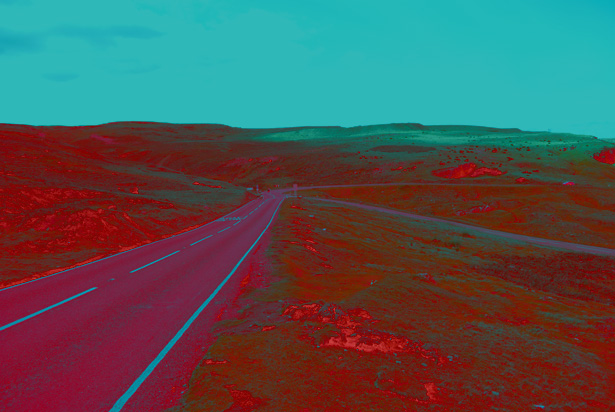
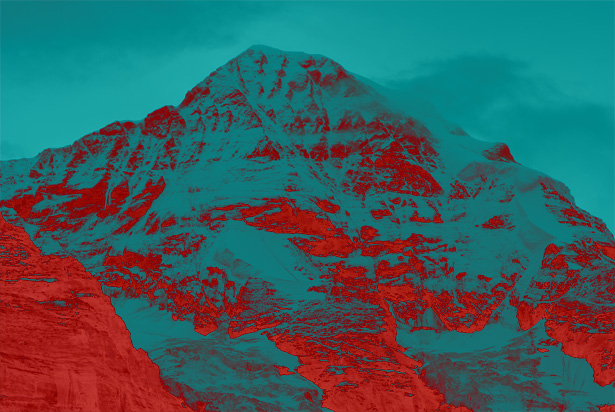
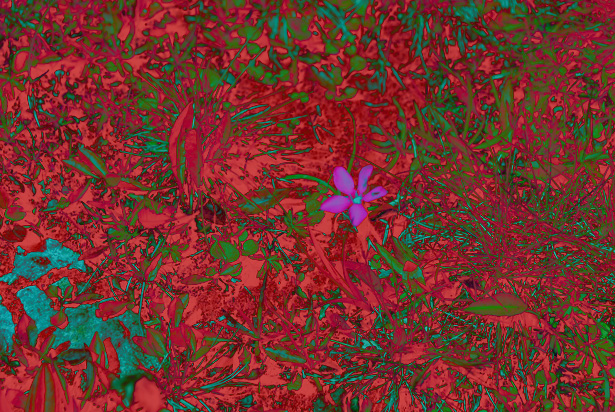 Difference creates an interesting effect; the range of colors present in the third base image can clearly be seen.
Screen
Screen is similar to Multiply in that it is multiplying each channel’s color information but Screen inverts these colors before multiplying them together. The images below show that Screen creates a lighter image that appears to be washed out, as opposed to Multiply's darker resulting image.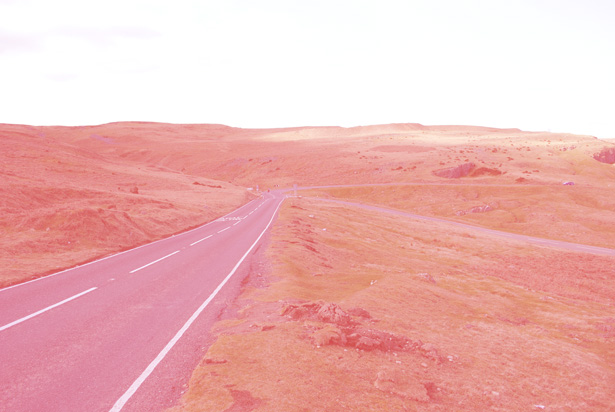
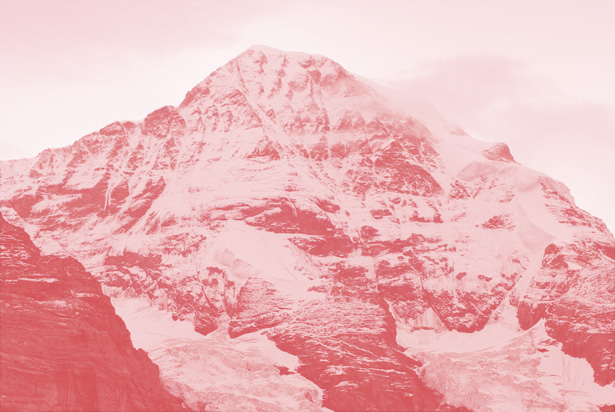
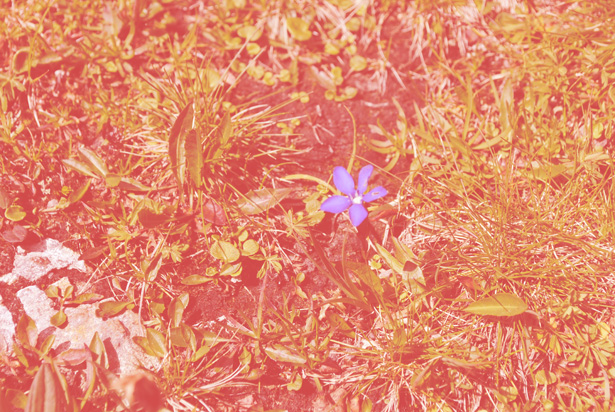
Linear Dodge (Add)
Dodge, another commonly used blending mode, brightens the base color using the information in each channel’s color information. The base color is brightened by increasing its brightness. The resulting images are very similar to those created by the Screen blending mode.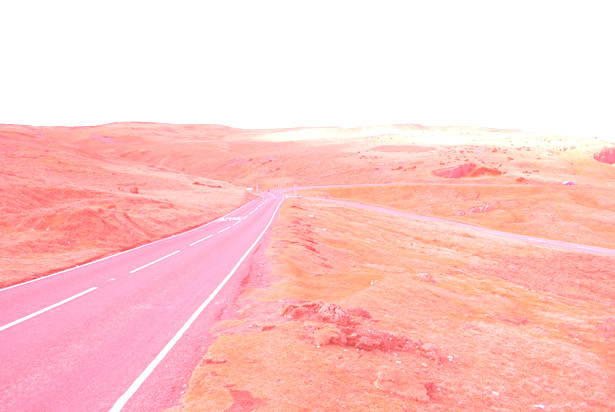
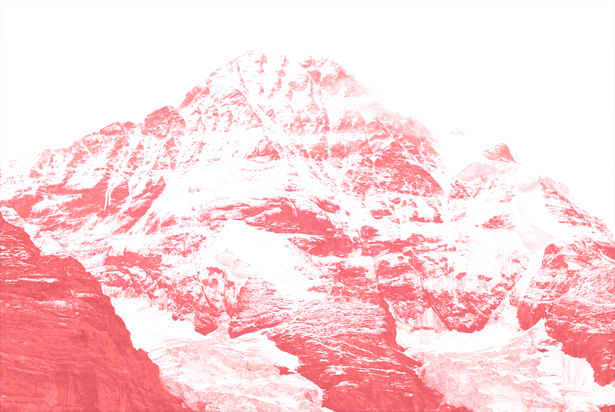

Things to consider
Whilst the examples here all use one layer of a solid color blending with a photograph, it is possible to multilayer and mix different blending modes within and between groups of layers to create different effects. Having a basic knowledge of what each mode does, however, will make this process easier and allow you to create the effects that you want, with less trial and error. As mentioned before, you can also blend different layers together regardless of whether they are solid color or not which adds further use to blending modes.Advanced
However, for more advanced users interesting effects can be created by painting onto the blended layer using the Blending Mode dialogue for the brush tool along with experimenting with opacity and multiple layers. The image below uses these techniques to create a vintage effect.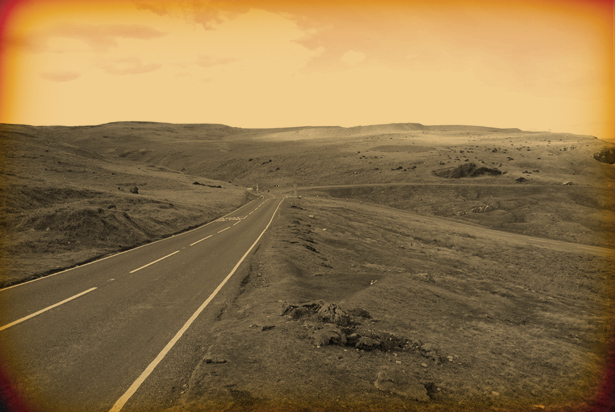 In this example a black brush has been painted around the edges of a solid cream (#edc173) layer with Color Burn mode selected whilst maintaining the blended layer; the opacity of the cream color layer is 81%.
The base image has been desaturated as well to further add to the vintage effect. If you look closely you can see the clouds stand out, this has been achieved by overlaying another red layer over just the clouds with Color Burn selected as the blending mode.
Have you spent much time experimenting with Photoshop's Blending Modes? Share any tips you might have in the comments!
In this example a black brush has been painted around the edges of a solid cream (#edc173) layer with Color Burn mode selected whilst maintaining the blended layer; the opacity of the cream color layer is 81%.
The base image has been desaturated as well to further add to the vintage effect. If you look closely you can see the clouds stand out, this has been achieved by overlaying another red layer over just the clouds with Color Burn selected as the blending mode.
Have you spent much time experimenting with Photoshop's Blending Modes? Share any tips you might have in the comments!David Pickett
David Pickett is a musician and web designer from the UK. Follow him on twitter.
Read Next
3 Essential Design Trends, November 2024
Touchable texture, distinct grids, and two-column designs are some of the most trending website design elements of…
20 Best New Websites, October 2024
Something we’re seeing more and more of is the ‘customizable’ site. Most often, this means a button to swap between…
Exciting New Tools for Designers, October 2024
We’ve got goodies for designers, developers, SEO-ers, content managers, and those of you who wear multiple hats. And,…
15 Best New Fonts, September 2024
Welcome to our roundup of the best new fonts we’ve found on the web in the previous four weeks. In this month’s edition…
By Simon Sterne
3 Essential Design Trends, October 2024
This article is brought to you by Constantino, a renowned company offering premium and affordable website design
You…
A Beginner’s Guide to Using BlueSky for Business Success
In today’s fast-paced digital world, businesses are always on the lookout for new ways to connect with their audience.…
By Louise North
The Importance of Title Tags: Tips and Tricks to Optimize for SEO
When it comes to on-page SEO, there’s one element that plays a pivotal role in both search engine rankings and user…
By Simon Sterne
20 Best New Websites, September 2024
We have a mixed bag for you with both minimalist and maximalist designs, and single pagers alongside much bigger, but…
Exciting New Tools for Designers, September 2024
This time around we are aiming to simplify life, with some light and fast analytics, an all-in-one productivity…
3 Essential Design Trends, September 2024
September's web design trends have a fun, fall feeling ... and we love it. See what's trending in website design this…
Crafting Personalized Experiences with AI
Picture this: You open Netflix, and it’s like the platform just knows what you’re in the mood for. Or maybe you’re…
By Simon Sterne
15 Best New Fonts, August 2024
Welcome to August’s roundup of the best fonts we’ve found over the last few weeks. 2024’s trend for flowing curves and…
By Ben Moss


